
Cutting a dog’s nails is an essential part of their grooming routine. However, it’s important to understand the potential risks involved, particularly when it comes to cutting the quick.
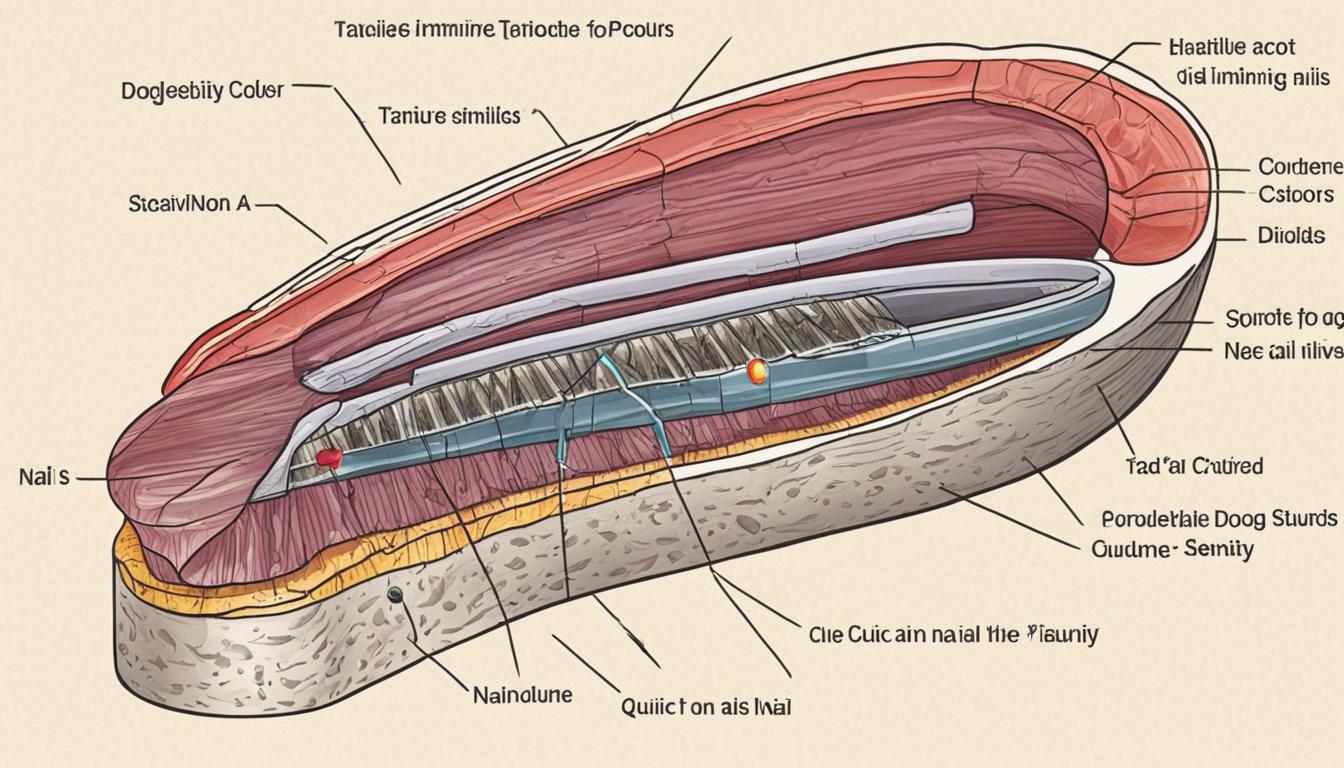
The quick refers to the part of the dog’s nail that contains blood vessels and a nerve. For dogs with white or clear nails, the quick is visible as a pink or red area. However, it may be challenging to see the quick in dogs with black nails, making it more difficult to trim without cutting too short.
Accidentally cutting the quick can cause pain and bleeding for the dog. The amount of pain experienced depends on the extent of the cut. While minor cuts may only result in a few minutes of bleeding, more severe cuts can take up to 24 hours to stop bleeding.
To prevent pain and potential infection, it’s crucial to avoid cutting the quick when trimming a dog’s nails. Trimming the nails before reaching the quick and at a 45-degree angle is recommended. For dogs with black nails, trimming from the bottom and looking for a grey dot inside the nail can help identify where to stop.
By understanding the anatomy of a dog’s nail and practicing safe trimming techniques, you can ensure that your furry friend’s nail care is comfortable and pain-free.
In the following sections, we will explore what to do if you accidentally cut a dog’s quick, how to get a dog’s quick to recede, the benefits of using a dremel for nail trimming, and how to safely trim your dog’s nails with a dremel. We will also discuss the option of getting professional nail trims for a painless and trauma-free experience for your pup.
What to Do If You Cut a Dog’s Quick
If you accidentally cut a dog’s quick during nail trimming, it’s essential to take immediate action to stop the bleeding and alleviate pain for the dog. Applying direct pressure to the bleeding nail with a clean towel or cloth can help stop minor bleeding. If the quick was cut deeper, using a clotting powder like Qwik Stop can aid in stopping the bleeding. In the absence of clotting powder, household items like flour, baking soda, cornstarch, or a bar of soap can also be used.
If the bleeding doesn’t stop after 20-30 minutes or if the nail injury is severe, veterinary care should be sought. While quick injuries are painful, they rarely lead to infections. However, in cases where the quick is injured due to a broken nail, there is a risk of a bone infection. Signs of an infected quick include excessive licking or chewing at the broken nail, discharge, foul odor, redness, and swelling around the nail. Infected nails should be treated by a veterinarian and not at home.
Clotting Powders for Quick Injuries
Clotting powders like Qwik Stop are specifically designed to stop nail bleeding. These powders contain ingredients such as ferric subsulfate, which helps promote blood clotting and speeds up the healing process. To use clotting powder, simply apply a small amount directly to the bleeding nail, ensuring it covers the cut quick. The powder will help form a clot and stop the bleeding.
Tip: If you don’t have a clotting powder on hand, household items like flour, baking soda, cornstarch, and even a bar of soap can provide temporary relief by promoting clotting.
How to Get a Dog’s Quick To Recede
If a dog has long nails, it is likely to also have long quicks. To get the quick to recede, regular nail trims are necessary. While monthly trims are generally recommended, dogs with long nails may require trims every two weeks to encourage the quick to recede. After trimming the nails, it can take up to 7 days for the quick to start receding. However, it may take several months of regular trimming to achieve the desired nail length and quick receding.
To effectively trim a dog’s nails and facilitate quick receding, the following steps can be followed:
- Prepare the necessary tools, such as dog nail clippers or a dremel, styptic powder or an alternative to stop bleeding if needed, and treats to reward the dog during and after the process.
- Find a quiet and comfortable area for the nail trimming session, ensuring that both the dog and the person trimming the nails are in a calm state.
- Gently hold the dog’s paw and examine the nails carefully, identifying the location of the quick. Be cautious not to trim too close to the quick to avoid causing pain or bleeding.
- If using nail clippers, position the clippers at a 45-degree angle and make a smooth, quick cut, avoiding the quick. Trim a small amount at a time to prevent cutting the quick accidentally. It’s also helpful to use a nail file to smoothen any rough edges.
- If using a dremel, turn it on and gradually introduce the sound and vibration to the dog before touching the nail. Once the dog is comfortable, gently grind the nail’s tip, avoiding contact with the quick. Remember to reward the dog with treats and praise throughout the process.
- If the quick is accidentally cut, apply styptic powder or an alternative to stop the bleeding. Maintain gentle pressure on the bleeding nail until the bleeding stops.
- Continue trimming the nails regularly to encourage the quick to recede over time. Consistency is key, and it’s important to monitor the nails’ length to prevent them from becoming too long again.
Table showing the differences between nail clippers and a dremel for dog nail trimming:
| Nail Clippers | Dremel |
|---|---|
| Require manual cutting of the nail | Grind the nail gradually |
| Risk of cutting the quick | Reduced risk of cutting the quick |
| Can be challenging to use on black nails | Allows visual identification of the quick |
| Loud and sudden snapping sound | Less triggering buzzing sound |
| Possibility of causing pain or discomfort | Painless and gentle grinding |
Quote:
“Regular nail trims are essential for a dog’s overall nail health. By maintaining a consistent nail care routine and using the appropriate tools, dog owners can ensure that their pets’ quicks recede and their nails remain in optimal condition.” – Dr. Emily Johnson, Veterinarian
Benefits of Using a Dremel for Nail Trimming
Using a dremel instead of nail clippers for dog nail trimming offers several benefits.
- Painless: A dremel grinds the nail gradually, reducing the risk of hitting the quick and causing pain for your furry friend.
- Less triggering: The buzzing sound of a dremel is less startling and triggering for dogs compared to the snapping sound of clippers. This creates a more comfortable experience during nail trims.
- Safe for black nails: Dogs with black nails pose a challenge when it comes to trimming, as you can’t see the quick. However, a dremel allows you to visually identify the quick and trim the nails without the fear of cutting too short.
- Gentler process: The gradual grinding action of a dremel is gentler on your dog’s nails, reducing the likelihood of causing discomfort or injuries.
By using a dremel, you can effectively trim your dog’s nails in a painless and safer manner, providing a better overall experience for both you and your furry companion.
How to Safely Trim Your Dog’s Nails with a Dremel
Trimming your dog’s nails with a dremel can be an effective and safe alternative to traditional nail clippers. To ensure a positive experience for both you and your furry friend, it’s important to follow a few essential steps.
Desensitizing Your Dog
Before you begin the actual nail trimming process, it’s crucial to familiarize your dog with the sound and sensation of the dremel. Start by gradually introducing the sound during positive activities such as playtime or mealtime. This will help desensitize your dog to the noise, reducing any potential fear or anxiety.
Preparing Your Dog’s Nails
Gently separate your dog’s toes to gain easier access to each nail. This will make the trimming process more comfortable and efficient. Take your time and ensure that your dog is calm and relaxed before proceeding.
Grinding the Nails
When you’re ready to trim, hold the dremel head against the end of the nail with steady pressure. Move the head up and down in a grinding motion, gradually removing small amounts of nail material. Be cautious not to stay in one spot for too long to prevent overheating the nail or causing discomfort to your dog.
Quick Identification and Safety
While grinding, pay close attention to the color change in the nail surface. As you approach the quick, the center of the nail may turn a pale pinkish color. This indicates that you are getting closer to the sensitive area, and it’s time to stop trimming. By monitoring the color change, you can avoid accidentally hitting the quick and causing pain or bleeding.
Remember, it’s always better to trim a little at a time and make frequent breaks during the process, rather than risking damage to your dog’s nails. Starting slow and gradually increasing the duration of dremeling sessions will help your dog become more comfortable, eventually creating a positive association with nail trimming.
By following these steps, you can safely trim your dog’s nails with a dremel, providing a positive experience that promotes both the health and well-being of your furry companion.
Getting Professional Nail Trims
For owners who prefer to have professionals trim their dog’s nails, there is an option that ensures a painless and trauma-free experience – professional nail trims using a dremel. The use of a dremel instead of clippers reduces the risk of accidental quick cuts and associated pain during the trimming process.
Professional groomers are specially trained to handle dogs during nail trims, making it an ideal choice for those looking for a safe and comfortable experience for their furry friend. By communicating your preference for a dremel, you can be confident that your dog’s nails will be trimmed without causing any unnecessary pain or discomfort during the procedure.
With a dremel, the professional groomer will be able to gradually grind down the nails, ensuring a smooth and painless trimming process. This method is particularly effective for dogs with black nails, as it allows the groomer to visually identify the quick and avoid any accidental cuts. By opting for professional nail trims with a dremel, you can provide your dog with the care they need while minimizing any potential discomfort or anxiety.
This site is for sale. If interested please email [email protected] or contact me here,